Luimoto Europe assembly instructions
Welcome to the Luimoto Europe assembly instructions page
Here you will find all the information you need to install Luimoto products. Simply open the appropriate category below.
For precise installation instructions, please refer to the videos! If you need help with installation, you can book our installation service or contact our team using the contact form.
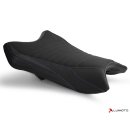
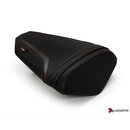
Luimoto Designer Seatcovers
Note: Always work on a clean and smooth surface. Please make sure that no sharp edges or splinters can damage the seat cover during assembly!
Below you will find brief 3-step instructions on how to install the seat cover. for detailed instructions, download the PDF file at the bottom of this section or watch the assembly videos:
1. If necessary, remove the old seat cover. With some seats, the old cover can remain under the new cover, e.g. as additional protection or upholstery.
2. Place the new seat cover on the seat. Align the cover in the middle. The Luimoto seat cover has small incisions in the middle. Now fix the seat cover with 3 - 4 staples to prevent it from slipping.
3. Now check that the cover is correctly positioned. Possibly. you have to remove staples and reinsert them. After the seat cover is 100% correctly fixed, staple the cover in the remaining free areas.
Download PDF instructions: Driver's seat: Type-A | Type-B | Type-C | Pillion seat | Bench

Luimoto Designer Seatcovers
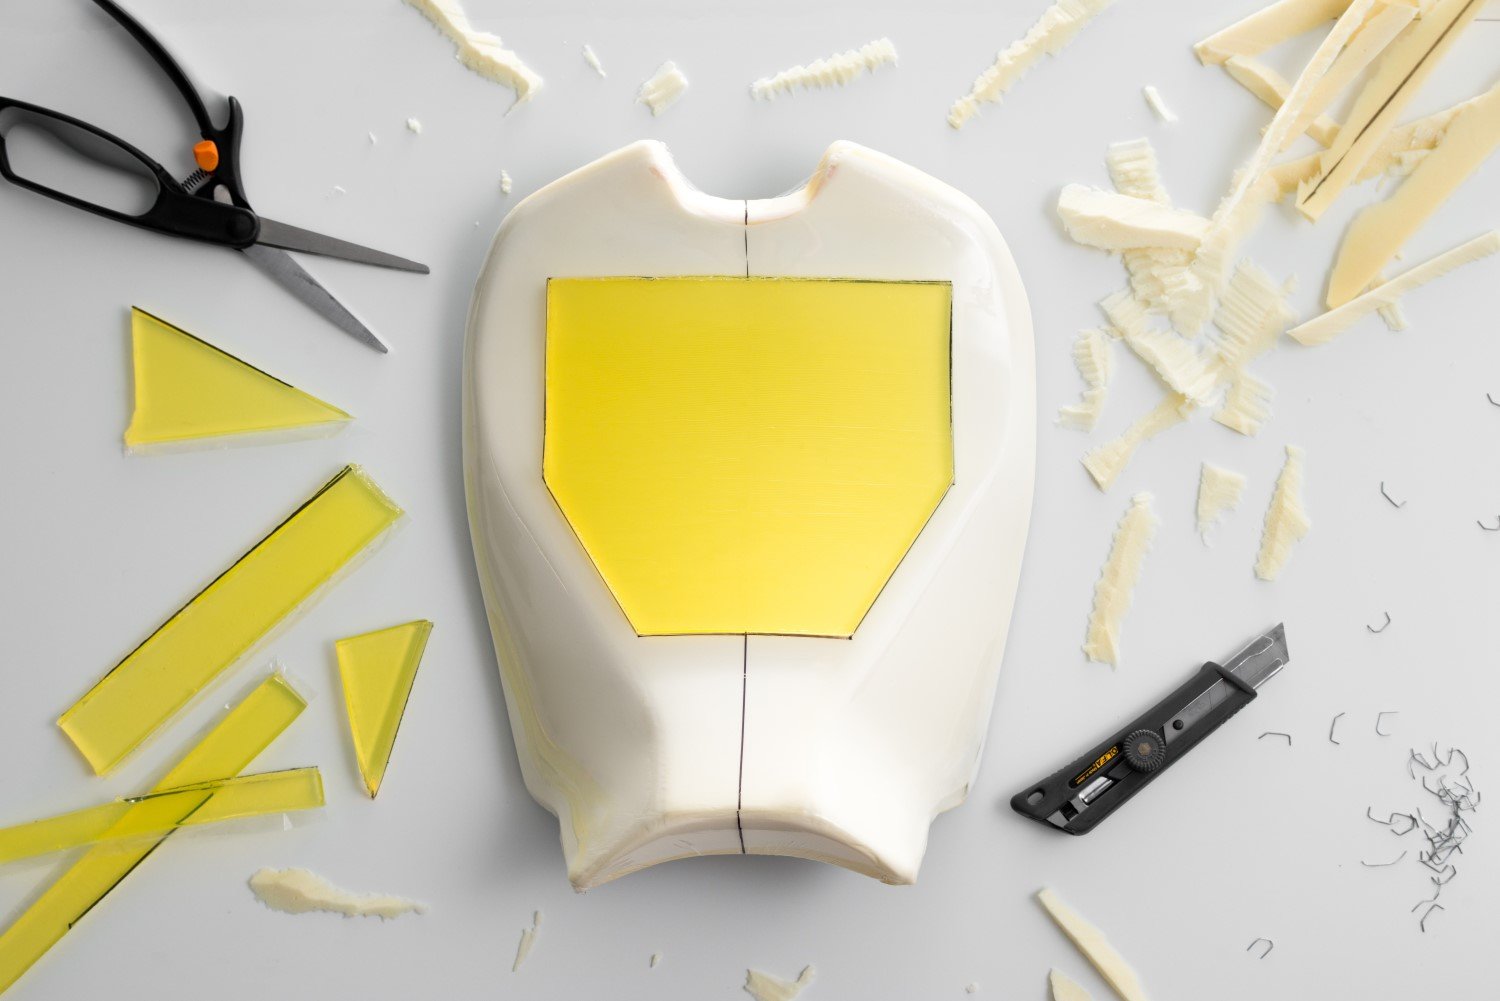
Note: Always work on a clean and smooth surface. Please make sure that no sharp edges or splinters can damage the seat cover during assembly!
Below you will find brief 3-step instructions on how to install the Gold Gel. for detailed instructions, download the PDF file at the bottom of this section or watch the assembly video:
1. Remove the old seat cover. Please ensure that you carefully remove the clamps without damaging the seat cover.
2. Place the Gold Gel seat cushion on the seat and roughly cut it to the shape of the seat. Now put a border of the gold gel on the seat, e.g. with a felt pen. Then cut out the foam of the seat cushion about 0.8 cm. Either with a sharp knife or a router
3. Check the transition of the gold gel to the foam of the seat cushion. The transition should be smooth. Now use spray glue to glue the foam that has been supplied to the entire seat and fix it with staples. Then apply the original or Luimoto seat cover to the seat.
Download PDF instructions: Driver's seat | Pillion seat | Bench
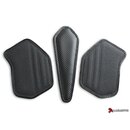
Luimoto Tank Leafs
Note: Always work on a clean and smooth surface. Please make sure that no sharp edges, tools or splinters can damage the tank leaves!
Below you will find brief 3-step instructions on how to install the Tank Leafs. For detailed instructions, download the PDF file at the bottom of this section or watch the assembly video:
1. Clean the tank surface with a degreasing cleaner. Make sure that the cleaner is paint-compatible.
2. First place the Tank Leafs on the tank without removing the protective film from the adhesive to check the shape and fit.
3. When the shape is checked, remove the film from the 3M glue and press the glue firmly onto the tank. The adhesive is ready to use immediately and does not have to harden.
Download PDF instructions: Tank Leaf